open
arrow-back Documentation

User's Guide

Introduction General Information toggle Minimal Client-Side Requirements Logging On Search of Studies System Menu Hanging protocols settings toggle Settings toggle

Features

Opening Studies Patient History
Quick Menu Viewport Features toggle Regular Features toggle Segmentation tools toggle Measurements toggle Layout Features toggle Manipulation Features toggle Supporting Functions toggle Specific Features toggle ECG & US Features toggle MPR Features toggle Advanced MPR Features Oblique MIST toggle Customization Features toggle
Documentation toggle

Supporting Functions

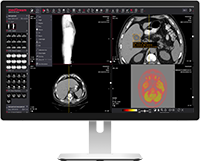
The main supporting functions of the DICOM Viewer are as follows:

Keyboard shortcuts
Copy the link Copied! copy-docs

System menu > Shortcuts: The keyboard shortcuts allow the users to quickly change tools and interact with the data.

Meddream Dicom Viewer Settings
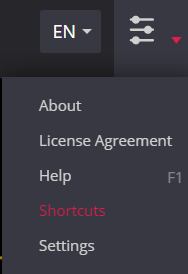
Shortcuts menu will display window with keyboard shortcuts:

Keybord Shortcuts Dicom Viewer

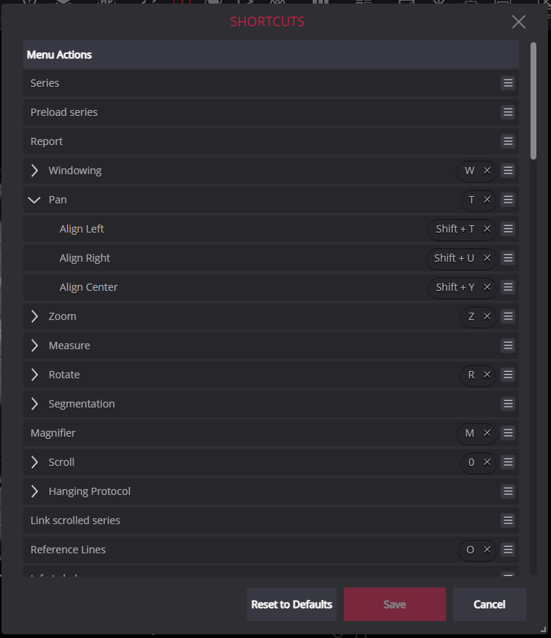
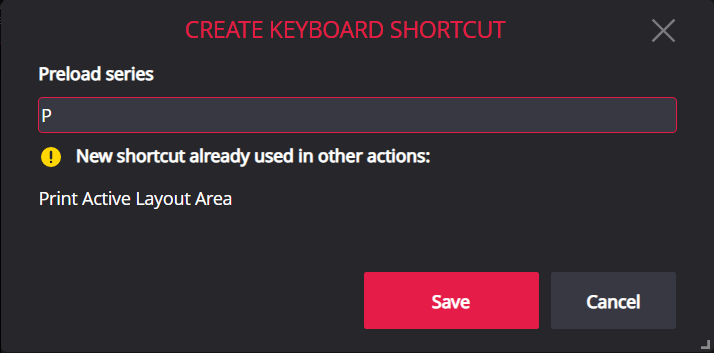
Possibility to assign custom shortcuts per user. The user can configure the shortcuts: remove the shortcut, that is assigned to the command, by pressing “x” next the shortcut. Assign the shortcut to the command: press the shortcut editing notification icon and then press the Keyboard Shortcuts button. Create keyboard shortcut window is opened to insert keyboard or mouse keys, which will be assigned as shortcut to the command:

Shortcuts Editing dicom viewer

Viewer global keyboard shortcuts:

ShortcutFunction
F1

Help*

F11

Full screen

Ctrl + F

Forward

Ctrl + E

Export

2D viewports keyboard shortcuts:

ShortcutFunction
O

Reference Lines*

L

Auto or manual link translation synchronization*

U

Unlink translation synchronization*

Escape

Display Reset*

C

Cine Tools*

Z

Select image zooming tool*

Ctrl + Mouse wheel

Zoom

Ctrl + Num 9

Select image Zoom Selection tool

T

Select image panning tool*

Shift + T

Align to left corner

Shift + U

Align to right corner

Shift + Y

Align to center

Ctrl + Left click + Drag

Pan

W

Select image window (brightness/contrast) adjustment tool*

D

Select distance measurement tool*

ASelect angle measurement tool*
NSelect flexpoly measurement tool
BSelect pencil measurement tool

Ctrl + Del

Delete all measurements from active viewport

EDelete all measurements from active viewport

Del

Delete selected measurement from active viewport

R

Select image rotate tool

Shift + R

Rotate Right

Shift + L

Rotate Left

Shift + V

Flip vertical

Shift + H

Flip horizontal

Shift + A

Axial reconstruction

Shift + C

Coronal reconstruction

Shift + S

Sagittal reconstruction

Shift + M

Multiplanar reconstruction

QSelect crosshair tool

Shift + Mouse wheel

Rotate image with 5 degree steps

Shift + Del

Clear transform

M

Select magnifier tool

Mouse wheel

If magnifier tools is active will change magnifier zoom

Alt + Mouse wheel

If magnifier tools is active will change magnifier dimensions

Ctrl + Num 0

Fit image to screen

Ctrl + Num 1

Set zoom to 100% (1 image pixel = 1 screen pixel)

Ctrl + Num 2

Set zoom to 200%

Ctrl + Num 3

Set zoom to 300%

Ctrl + Num 4

Set zoom to 400%

Ctrl + +

Increase zoom

Ctrl + -

Decrease zoom

Num 0

Full dynamic brightness/contrast

Num 2

Windowing preset Abdominal for CT images (wl=60, ww=400)

Num 3

Windowing preset Angio for CT images (wl=300, ww=600)

Num 4

Windowing preset Bone for CT images (wl=300, ww=1500)

Num 5

Windowing preset Brain for CT images (wl=40, ww=80)

Num 6

Windowing preset Chest for CT images (wl=40, ww=400)

Num 7

Windowing preset Lungs for CT images (wl=-400, ww=1500)

I

Invert

V

Show intensity value

Space

Stop/Play cine or video or multiframe

F

Fusion

Right click

Opens context menu

Up Arrow

Go to previous image

Down Arrow

Go to next image

Left Arrow

Go to previous series

Right Arrow

Go to next series

Ctrl + Shift + S

Activate fast scroll between series

Ctrl + K

Adding instance to the Key Object selection

Ctrl + Shift + K

Open the Key Object Selection management dialog

Shift + Z

Quick save KO, PR

P

Print active image*

Alt + V

Apply next Hanging Protocol

Alt + C

Apply previous Hanging Protocol

Ctrl + CCopy the image to the clipboard
Home
Go to the first image in loaded series
End
Go to the last image in loaded series

    * – IHE recommendations in Basic Image Review profile.

icon Orientation labels
Copy the link Copied! copy-docs

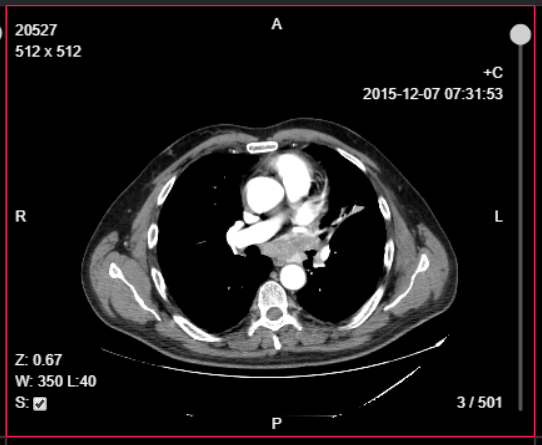
Orientation Labels on the edges of the images clearly indicate how the patient is oriented.

Meddream Dicom Viewer Orientation Labels

icon Info Labels
Copy the link Copied! copy-docs

Toolbar > Info Labels. Possibility to show/hide Info Labels in viewports for image, multi-frame or video:

Info Labels Dicom Viewer

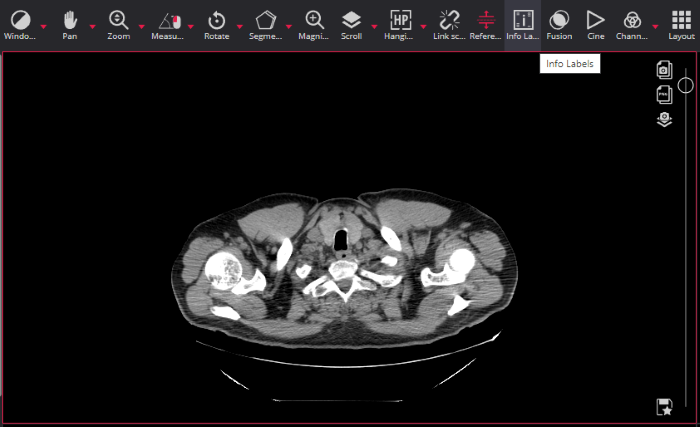
By default when the Viewer window is opened the info labels are displayed and the Info Labels button is highlighted.

Watch video tutorial demonstrating how to show/hide Info Labels in viewports of MedDream WEB DICOM Viewer:

Comparison Study
Copy the link Copied! copy-docs

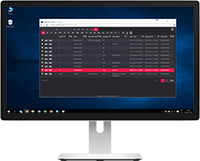
Comparison Study. The comparison study’s DATE is highlighted in the grey color:

Comparison Study Dicom Viewer

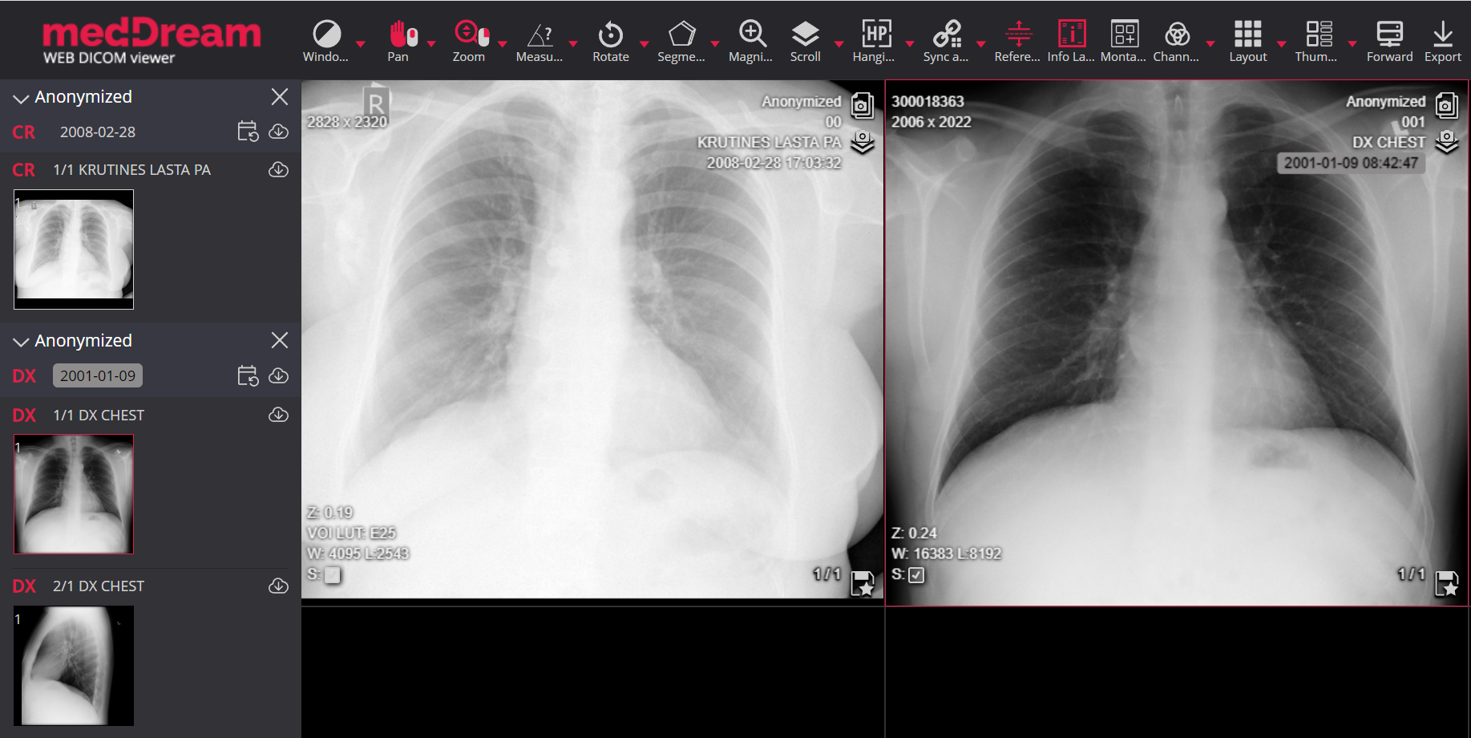
The additional label and date highlighting for comparison studies may be configured in system settings:

Comparison Study Settings Dicom Viewer

icon Report
Copy the link Copied! copy-docs

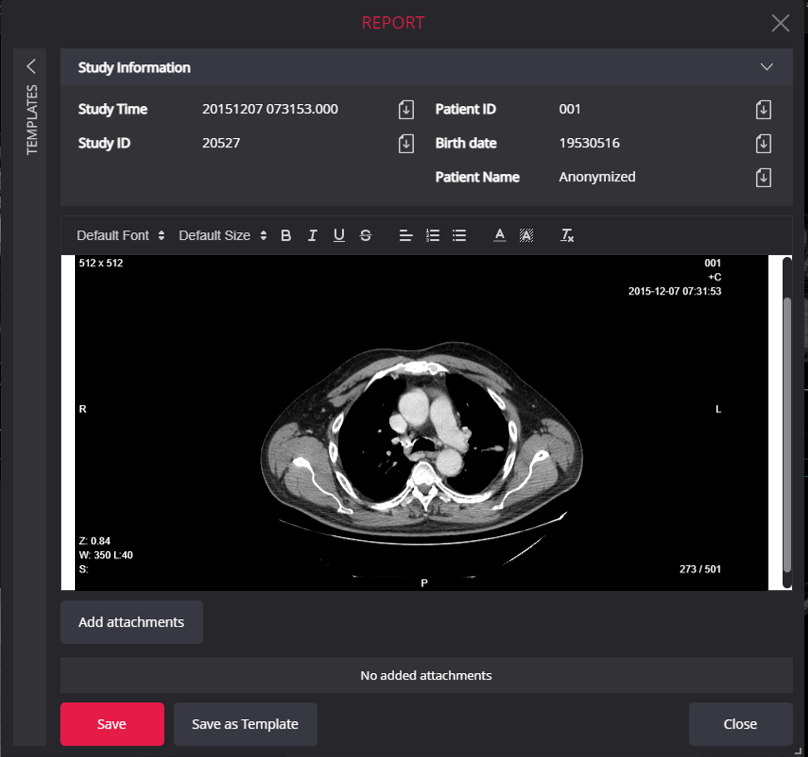
Report. Possibility to write a report for a study. Report function can be reached in the viewport or in the search window:

Meddream Dicom Viewer Report

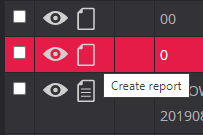
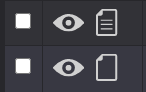
Report status (filled or empty) is shown with different icons:

Report Status In Search Window

You can perform the following in the Report window:

Reports Update Dicom Viewer

  • Use and manage the report templates:
    − Expand or collapse Templates section, click the chevron icon above the Template label;
    − Open the Template window with the content of current report to be saved as template, click the Save as Template button.
  • View or collapse the study information by clicking the chevron icon on the right of the field.
  • Insert picture into Report. Paste copied study instance view as image into Report:

Insert Image To The Report Dicom Viewer

  • Enter and save the report for the study.
  • View and restore the previous report version.
  • Print the saved report.

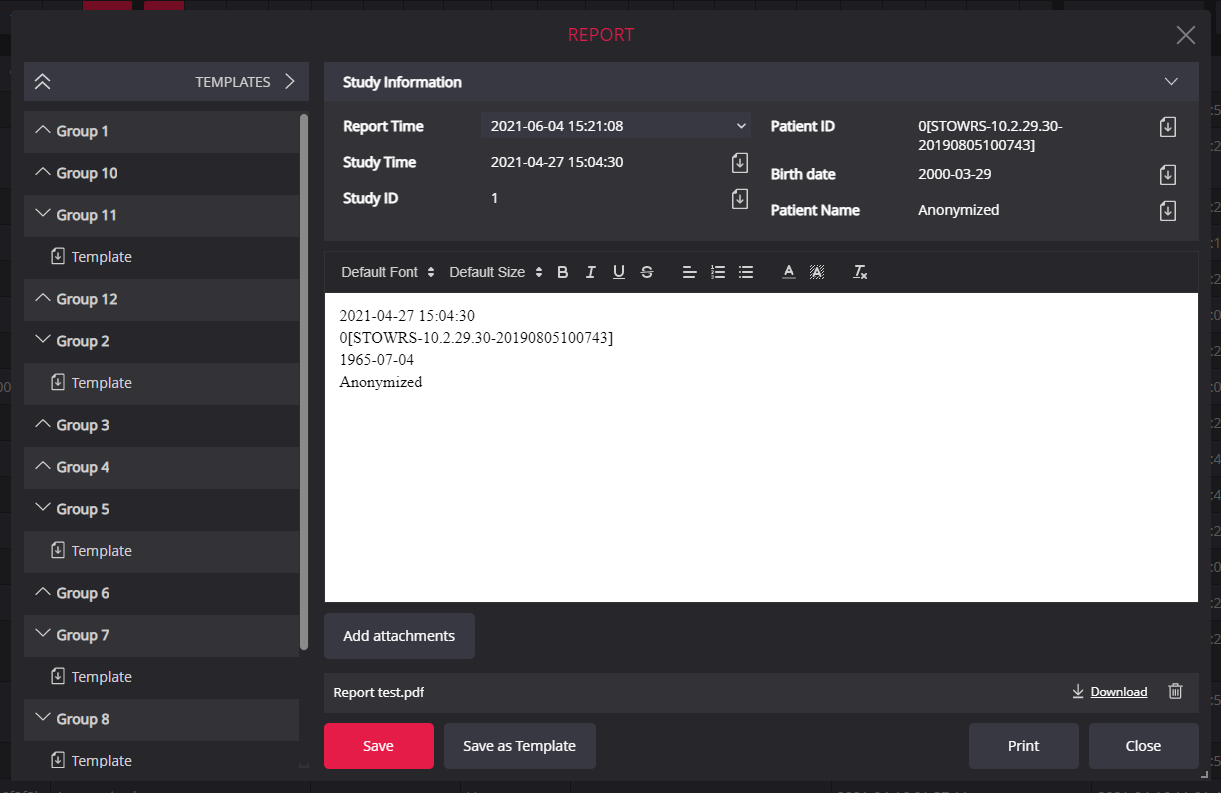
NOTE: the Report module is an additional module and should be granted by license. The Report icon is visible only if the Report module is allowed by license, system configuration, and the user has right to view or edit reports.
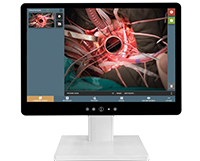
icon Print
Copy the link Copied! copy-docs

Toolbar > Print. Possibility to print an active image from the DICOM Viewer.

Meddream Dicom Viewer Print

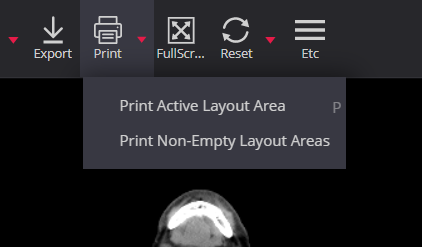
Choose one of Printing options: Print Active Layout Area or Print Non-Empty Layout Areas.

DICOM print
Copy the link Copied! copy-docs

DICOM print possibility with integrated printing component.

icon Forward
Copy the link Copied! copy-docs

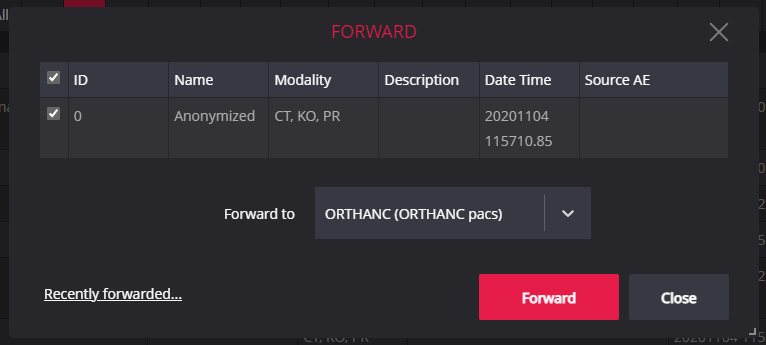
Toolbar > Forward. Send the selected several studies at once to the remote DICOM devices and easily find devices while forwarding.
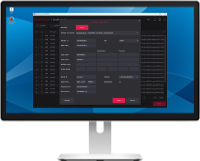
Meddream Dicom Viewer Forward Window

icon Export
Copy the link Copied! copy-docs

Toolbar > Export. Export multiple studies and save them in different formats: DICOM, jpg/mp4, tiff/mp4, png/mp4, and bmp/mp4:

MedDream DICOM Viewer Export


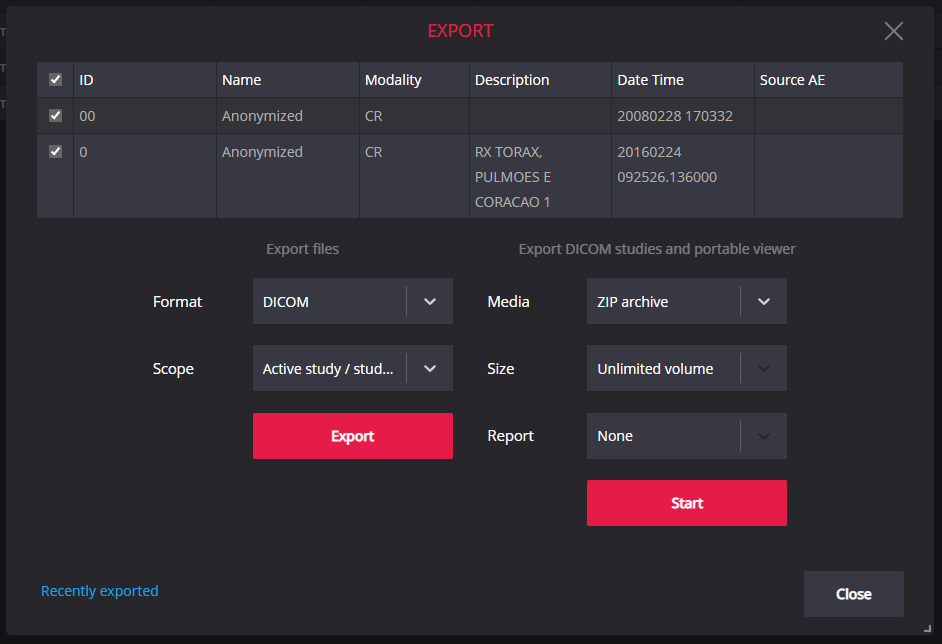
Possibility to export multiple studies by clicking on check box to include/exclude the study from the list. Active study is checked for exporting automatically. Two ways of exporting big files:

  • ZIP archive for USB sticks. Choose: Media > ZIP archive for study or studies to be exported with portable Viewer in ZIP format for USB sticks. After a file is exported, press Download button:

Export Zip Download Dicom Viewer

  • ISO Volume. Choose: Media ISO disk image. After a file is exported, press Burn or Download button:

Export Iso Volume Download Dicom Viewer

Also there is a possibility to burn ZIP to CD or USB with created Reports in PDF. Choose: Report > Included as PDF for study or studies to be exported to CD or USB zips with created Reports for studies:

Export Report Dicom Viewer

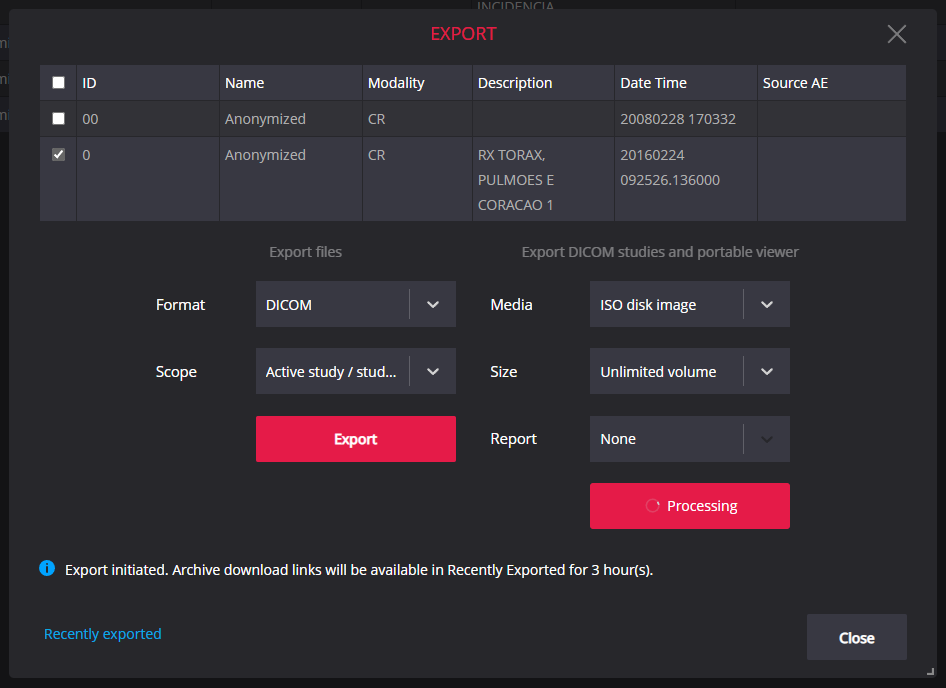
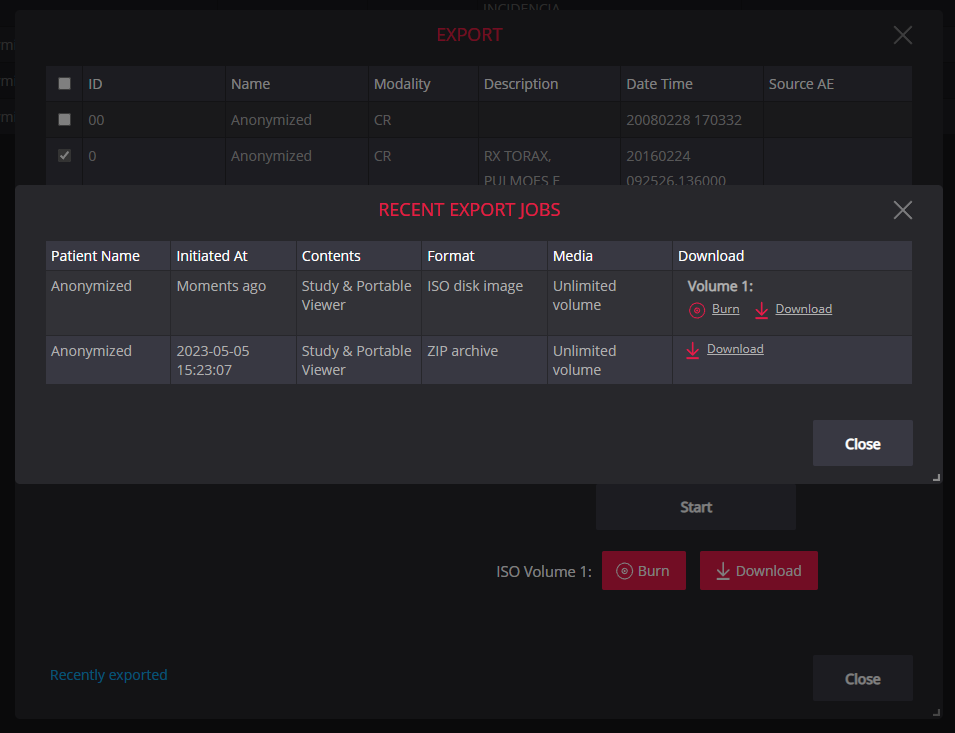
After starting export process there is a possibility to close the export window and download the created archive later by pressing on Recently Exported link:

MedDream DICOM Viewer Recently Exported Note

Recently Exported link opens the Recent Export Jobs window with the list of created archives for downloading:

MedDream DICOM Viewer Recently Exported

Watch video tutorial demonstrating the exporting functionality of MedDream WEB DICOM Viewer:

Burn
Copy the link Copied! copy-docs

Toolbar > Export. Export the study to burn it into CD/DVD/Dual-Layer DVD/Custom Size.

Export Iso Volume Download
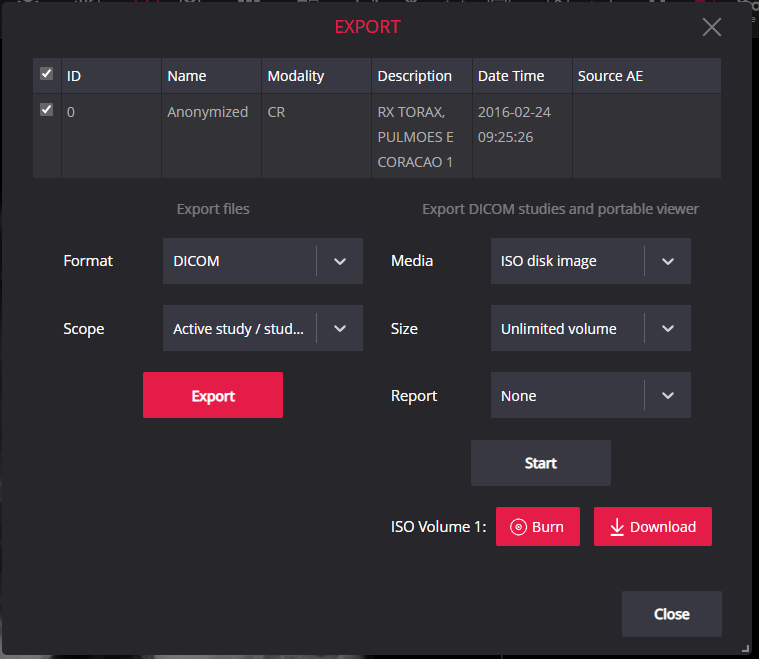
1. Select the file saving format in the Format field.
2. Select the export scope in the Scope field.
3. Select output archive type in Media field.

  • by default, ZIP archive option is selected;
  • select ISO disk image option, if you need the archive of ISO format or to burn the CD/DVD disk.

4. Select archive size in Size field.
5. Select either you need to include the study’s Report in archive.
6. Click the Start button.
7. Choose Burn or Download button.

icon Anonymize and Share files
Copy the link Copied! copy-docs

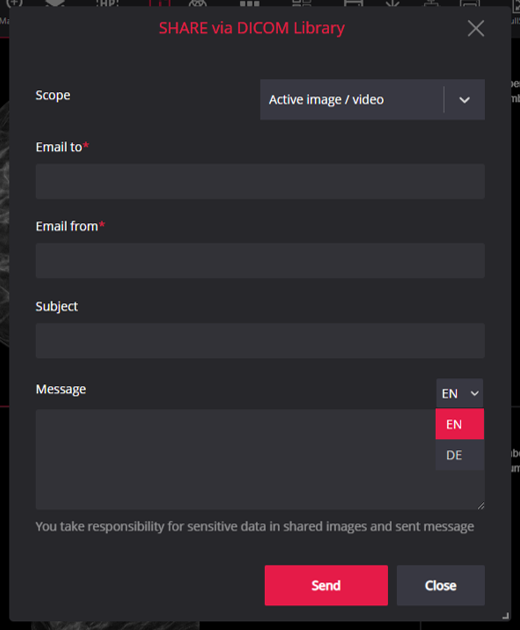
Toolbar > Share files via DICOM Library. Anonymize and share studies via DICOM Library. Possibility to send an email in selected language: EN or DE:

Watch video tutorial demonstrating the sharing files functionality of MedDream WEB DICOM Viewer: