Software Vendors & OEMs
Ready to integrate web DICOM PACS Viewer and connectivity solutions

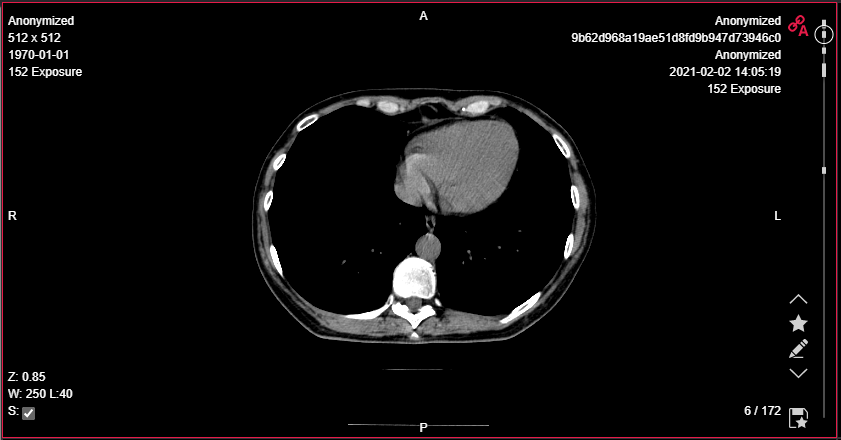
The manipulations are allowed in one active viewport at a time. At the right side of the viewport a scroll bar is shown. A scroll cursor is scrolled respectively to the position of the active image in the series. At the bottom of the scroll bar the total number of images in the series and the number of the active image are shown. Dragging the cursor along the scroll bar scrolls through the images of the series. Clicking on scroll bar displays the image corresponding to the scroll position.
 Scroll activator
Possibility to activate/deactivate Simultaneous scrolling feature for the active viewports.
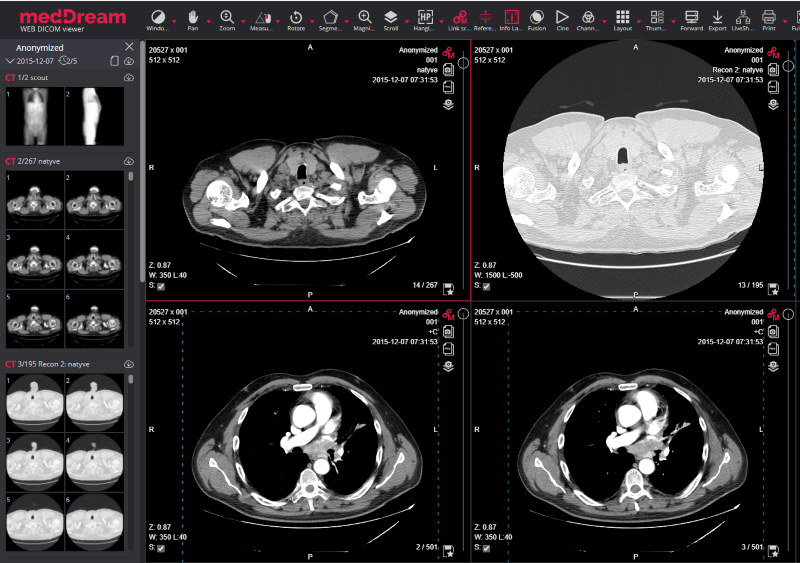
Manually linked scrolling. Possibility to scroll all studies in open viewports:
Watch video tutorial demonstrating how to scroll all studies in open viewports:
 Viewport to clipboard
Viewport > Copy viewport content to the clipboard. Possibility to copy viewport content to the clipboard using PNG compression format from viewport:

 Image to clipboard
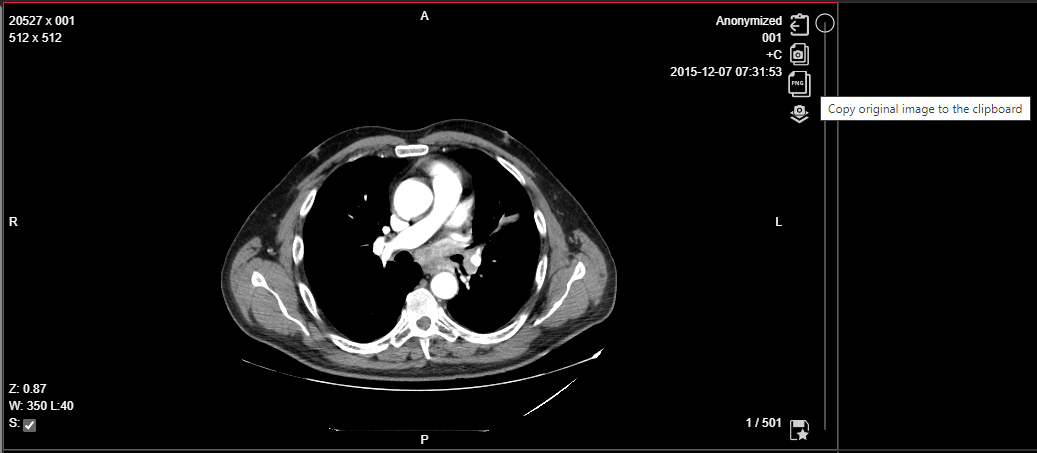
Viewport > Copy original image to the clipboard. Possibility to copy original resolution image to the clipboard (no annotations and manipulations):
 Save viewport content
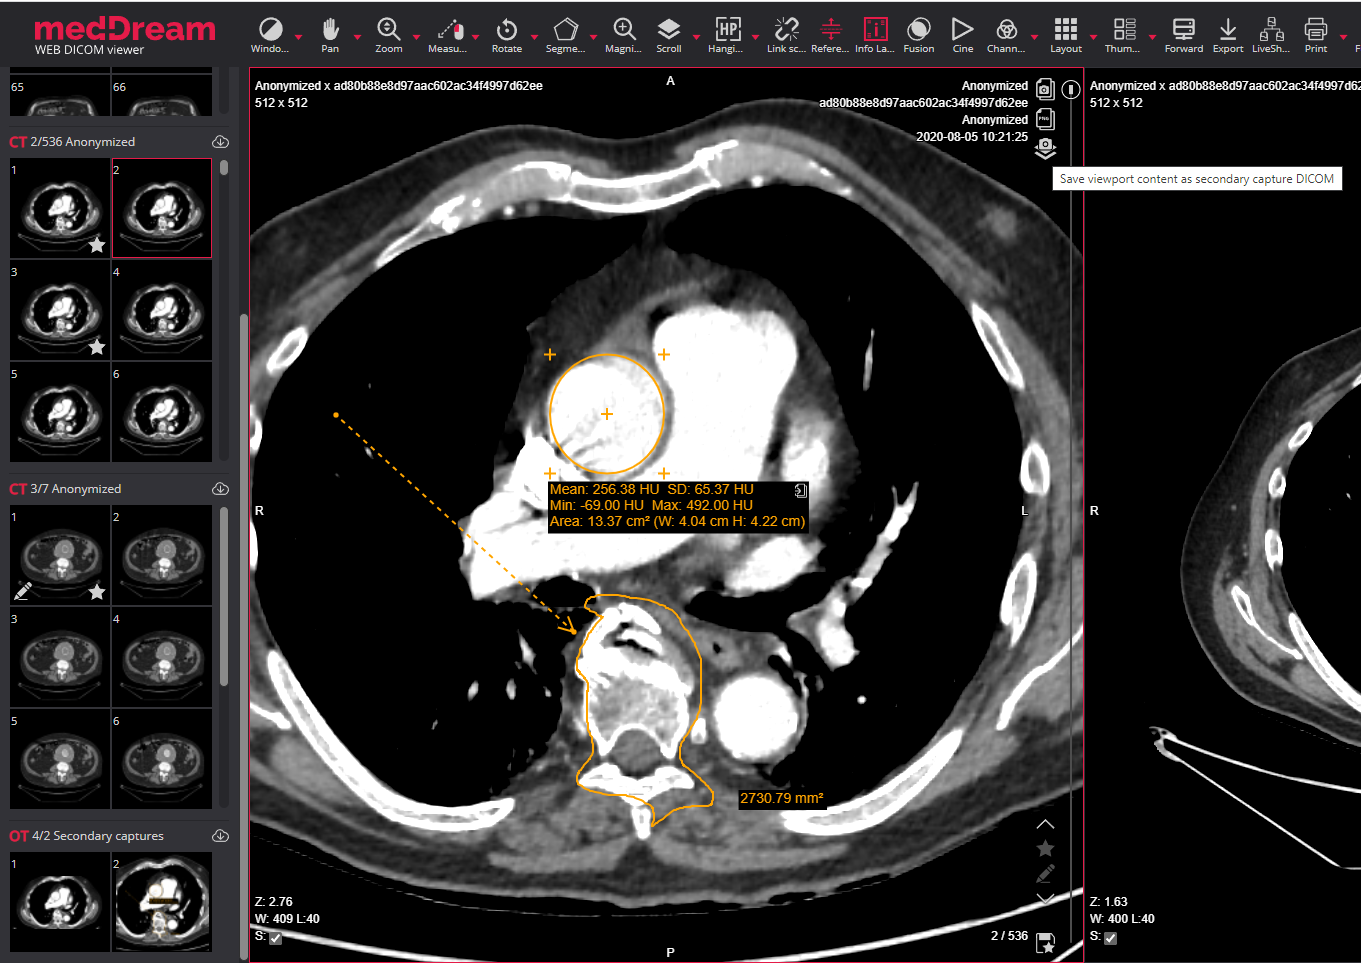
Save viewport content as secondary capture DICOM in new series. Possibility to copy viewport content and save it as DICOM secondary capture in new series:
Watch video tutorial demonstrating how to save viewport content as secondary capture DICOM in new series:
 Propagate an Ellipse ROI
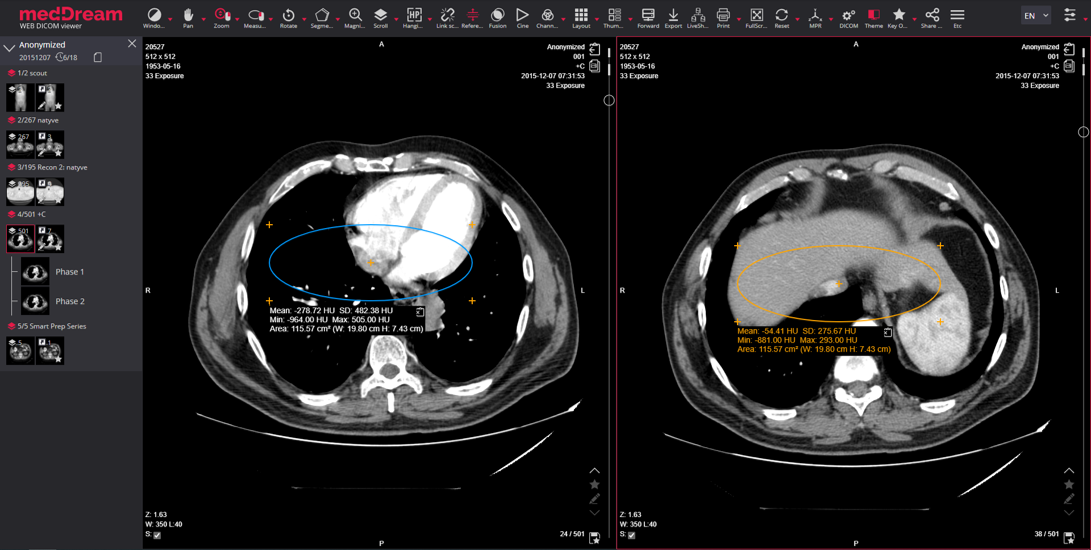
Viewport > Propagate an Ellipse ROI. Possibility to propagate the measurement (Ellipse) ROI into other open viewports:
 Paste an Ellipse ROI
Viewport > Paste the measurement. Possibility to paste the measurement (Ellipse) ROI into other open viewports:
 Stop propagation
Viewport > Stop propagation. Stop propagation of the measurement (Ellipse) ROI:
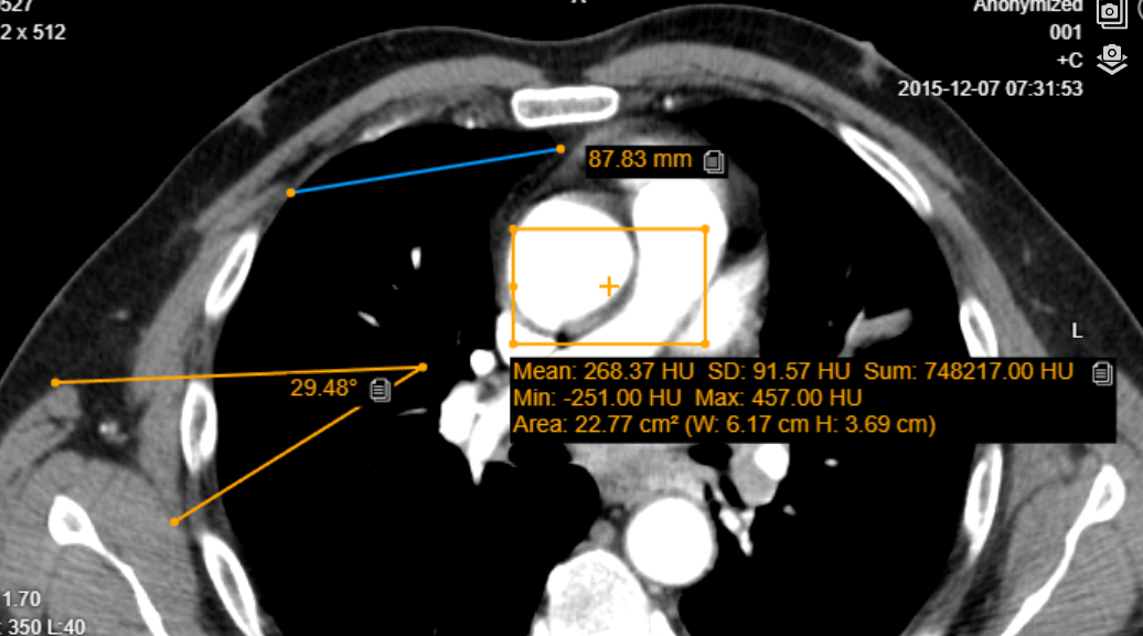
 Copy measurement values
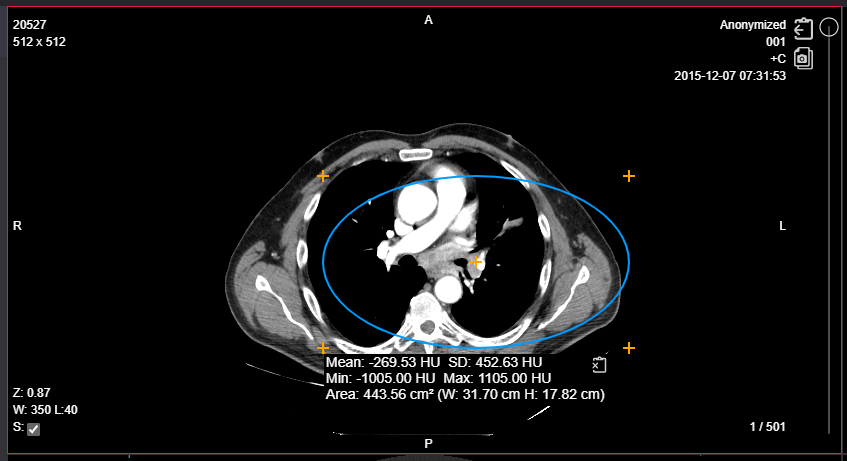
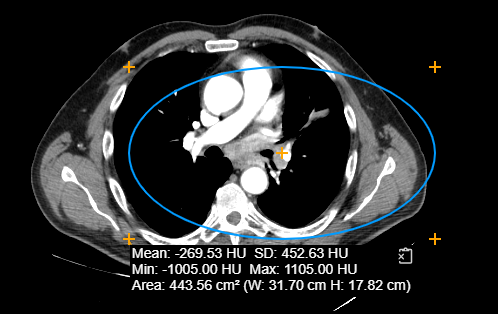
Viewport > Copy measurement values. Possibility to copy measurements values to the clipboard:
If series that are viewed in the viewport contain images with additional data, the controls for quick access to additional data are displayed in the viewport:

To access the images with additional data use quick access controls as described below:
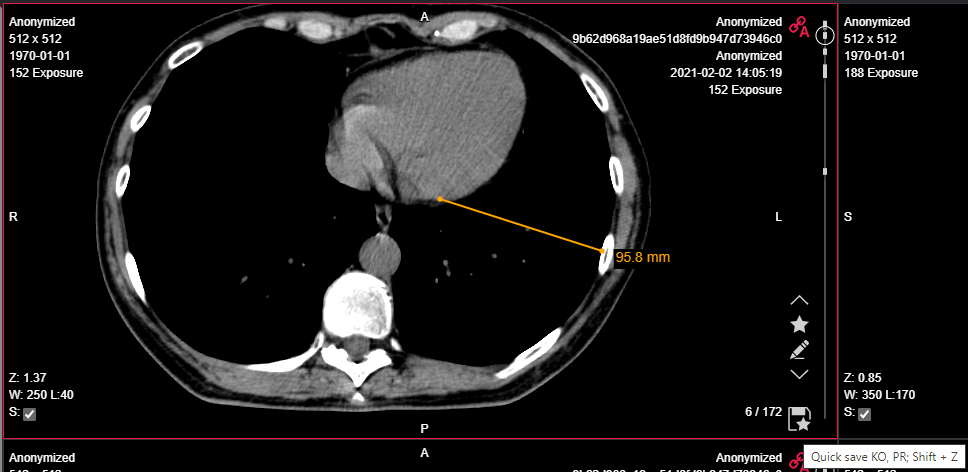
 Quick save KO and PR
Click the Quick save KO, PR button at the bottom right side of the viewport:
Watch the video tutorial about how to use the Quick save KO and PR button with DICOM Viewer:
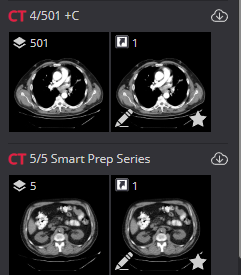
Once the KO and PR have been saved, the thumbnail with a shortcut to all saved annotations and Key Objects will appear next to the series thumbnail:
The current date and time are used as a description of the presentation state. Several annotations may be saved for the same image. Each annotation is saved as separate series of PR modalities.
Please notice, that the Quick save KO, PR button initiates double action: saves the presentation state and saves key objects.
© 2007. Softneta. All rights reserved.